Adding Areas
After opening an image you can label different areas of the image – such as Sky or Rock – by dragging the labels from the left hand side of the screen onto the image.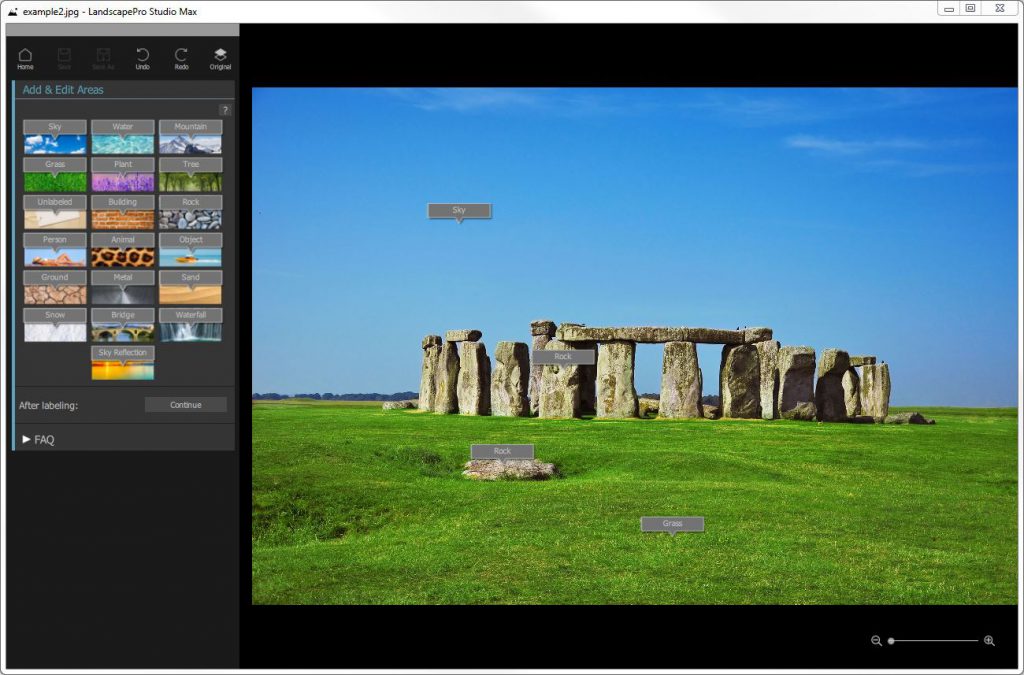
Editing Areas
When you have finished labeling areas, press continue and the areas you have chosen will be expanded automatically and highlighted in different colors. These areas can be edited by clicking the mouse and dragging the regions. Try it to see how this works. You don’t need to be too accurate, and you can always come back to this stage later if needed.

Choose different Selection Editing Tools to correct the labelled areas.
Press Continue when finished.
Adjust Horizon
The next stage is to adjust the horizon in the image by clicking and moving the mouse up and down. If there is no horizon this step can be ignored. Press Continue to move on to Enhance Image.
Adjusting the Selections
Once you’ve started editing, you may find you want to adjust the area selection. Simply click Add & Edit Areas in the left hand menu bar to open the labelling stage again. When you’ve finished making adjustments, click on one of the other editing headers in the menu (e.g. Water or Sky) to return to your editing.
How does one re-edit areas? I’ve gone back after making adjustments to the photo and pushed the water line over the sand to balance the shot. Unfortunately after the adjustment there is no “Continue” button. How do I apply the re-adjustment?
If you’ve already edited using the other sections, just click on a section header to expand it.