If you just read one page in this manual, make it this one. Here are some tips to get the best results out of LandscapePro.
Only add necessary labels
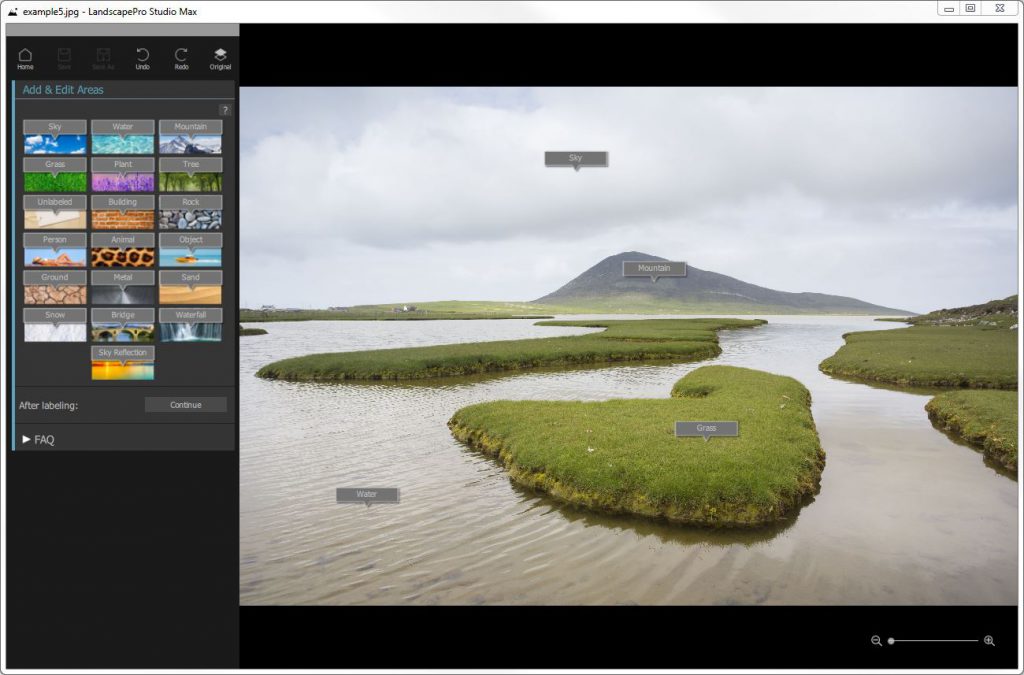
LandscapePro uses targeted editing to provide you with the best tools for each feature in your landscape. However, it’s rarely necessary to label everything in your image. You only need to label something if:
+ You want to adjust it separately from the rest of the scene
+ It is large and you want to use the depth map
All pixels that are not labeled can be adjusted using the sliders in the Unlabeled section, to get them to match the other edits you have made.
Adjust the selections where necessary
Areas need to be accurately defined if you are making dramatic changes to them, for instance replacing a sky. For subtle changes, not getting the edge precisely will be much less noticeable.
It is best to roughly make your area selections and return to the Add & Edit Areas selection at a later stage if necessary.

Don’t push the sliders up too far
Often, you can greatly improve a picture with fairly subtle changes. Push the sliders up just far enough to get the results you want. If you go too far, the result can look unnatural or fake.
If you are making more dramatic changes to your image you will need to spend more time selecting the areas.
Depth map
LandscapePro uses your areas to calculate a depth map. The depth map is used for Lighting, Depth Of Field and Depth. To get these sections working as well as possible, tall objects should be labeled. LandscapePro uses the horizon line to work out which objects are tall by looking at which go above the horizon. If you are looking down on a scene, placing the horizon line lower than it should be may give better results because tall objects might not reach the horizon in the image.
Cloud replacements
Replacing skies requires an accurate sky selection. Many of the selection editing tools (such as the Tree & Sky brush) can be used to improve the selection. In addition, the Sky Edge slider in the Sky section can be used to nudge the sky selection edge.
The bottom of the sky area is used to work out where the bottom of the replacement clouds should be. If you find that the clouds on the horizon are too large, it’s possible there are some pixels of sky selected lower down. Open the Add & Edit Areas section to check.
Adjustment order
The adjustments in the Side Panel are applied to your image from bottom to top as in Photoshop (i.e. Whole Picture is the last to be applied). Some of the sliders, particularly the style sliders at the top of each section, can react differently depending on what happens lower down the chain, which means some sliders can occasionally have unexpected results when style sliders are active in sections further up.
If you find that the sliders are too slow, try temporarily turning off adjustments above the ones you are working on.
Session files
If you want to return to the editing process later and reload your image and continue adjusting the sliders, you will need to save a Session file. In LandscapePro this is a .lp3 file. This saves the original image, all the area selections, and all the sliders values into a proprietary “.lp3” file. These .lp3 files can only be opened in LandscapePro.