After you have opened an image and the areas have been identified, the horizon has been adjusted if required, then you are ready to start enhancing the image.
Viewing the result
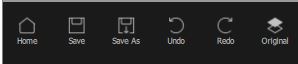
You can always flip the enhanced (“after”) image back to the original (“before”) image to see the changes by pressing and holding the Enter key, or by pressing the Original button at the top of the controls panel.
Important things to check
You can always go back to the Add & Edit Areas by clicking on the section again.
Changing the result
When you first begin editing, there are no adjustments made to your image.
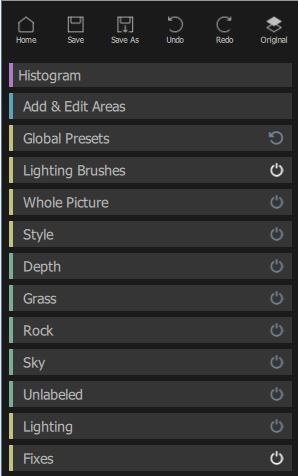
You can change how the image is enhanced by moving the sliders in each section on the Side panel.
The sliders are grouped into sections that control various aspects of the image. When you first enter this stage, all sections are closed. Sections can be opened or closed by clicking on their title button.
In every section there are a set of presets which will set some or all of the sliders to pre-defined values to get a particular effect. You can go through these to see some of the types of enhancement possible for your photo.
Controls panel
Some or all of the labels will appear in the controls panel, depending on what areas have been added in the identifying areas process.
Saving the result
The Save button at the top of the control panel lets you save the image and choose the name and file type to save it as.
If you would like to save all the settings so that you can reload your image and continue adjusting the sliders, select to save the image as a .lp2 image. This saves the original image, all the area selections, and all the sliders values into a proprietary “.lp2” file.