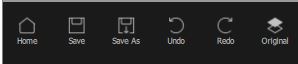
This section describes the main controls available when you are enhancing an image.
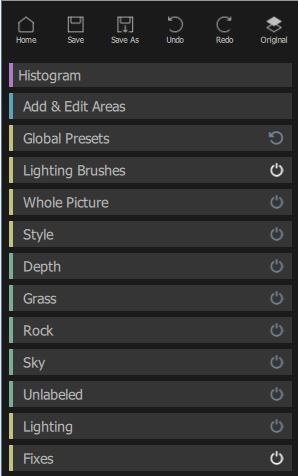
The main sections in the controls panel (in the screen-shot above) can be opened or closed by clicking on the header of each section.
Each section has a toggle on the right hand side, which shows if it has any effect . You can click on this button to temporarily disable a section (which will set sliders to zero to make it have no effect) and click again to enable it. If you want to start again with a section, you can turn it off and start adjusting the sliders from that ‘clean state’.
A section is only displayed if it is needed. For example if there are no buildings in the picture then the Building section will not be shown.
The Histogram is only available in the Studio Max edition and is always shown at the top even if you scroll the rest of the sections.
Docking and Undocking the controls
You can undock and move the controls by dragging the gray rectangle at the top of the controls, then the control panel can be made longer or shorter by dragging the bottom edge of the control panel. You can re-dock the control panel on the left or right by dragging it all the way over to the left or right. When the panel is undocked, it will fade out when you use the sliders. That way you can adjust your image completely full screen with no distracting elements.
Flipping between the enhanced and original image
You can press the Enter key at any time to switch the enhanced image view to show the original image. The original image is only shown while you hold down the enter key.
This lets you flip between the enhanced and original image which is a great way to see the changes.
Alternatively, you can click and hold the mouse button down on the button that says Show Original.